

An AHD camera uses Analog High Definition video, while a CVBS camera uses a traditional standard-definition composite video signal. Both can form part of a vehicle camera system, but their outputs are not interchangeable simply because a connector fits. For a commercial vehicle project, the monitor or DVR must accept the camera’s exact output mode before either format can be considered suitable.
The main AHD vs CVBS differences concern image quality, compatibility, transmission, cost and use case. AHD can provide more image detail through a compatible camera, receiver and display path. CVBS remains practical where an existing composite-video monitor already meets the viewing task. Neither label alone confirms cable suitability, recording support, low-light performance or the quality of the installed view.
Choose between them by checking the existing monitor or DVR, required image detail, budget and vehicle application. A truck camera replacement may need to retain a working CVBS display; a new fleet installation may justify evaluating a matched AHD assembly. In both cases, check power, pinout and the installed cable path before placing the replacement order.
- AHD: Can provide higher image detail through a compatible system.
- AHD: Suits new assemblies where camera and receiver are selected together.
- AHD: Requires support for the exact output mode at the monitor or DVR.
- CVBS: Can retain compatible legacy composite-video displays.
- CVBS: May reduce replacement work when existing equipment is suitable.
- CVBS: Can suit basic reversing or monitoring if the installed view meets the task.
AHD vs CVBS at a glance
| Feature | AHD | CVBS |
|---|---|---|
| Video signal type | Analog High Definition video | Standard-definition composite video |
| Typical image clarity | Can provide more detail through a compatible HD path | Less source detail; assess suitability on the installed display |
| Resolution capability | HD capability depends on the selected camera and receiver mode | Standard-definition capability depends on the supported composite standard |
| Compatibility | Requires support for the exact AHD mode | Requires a compatible composite-video input and standard |
| Transmission | Depends on cable, connectors and equipment | Also depends on cable, connectors and equipment |
| Latency | Evaluate the complete display or recording path; no universal value | Evaluate the complete path; no universal advantage is assumed |
| System cost | Include any receiver, cable and installation changes | Retaining compatible equipment may limit replacement costs |
| Installation complexity | Additional work may be needed when upgrading a legacy receiver | May simplify a like-for-like replacement; wiring checks still apply |
| Best suited for | Projects needing more image detail with compatible equipment | Compatible legacy systems and viewing tasks adequately served by SD |
| Commercial vehicle use | Rear, side or interior views when the complete assembly supports AHD | The same viewing positions where a compatible CVBS assembly meets the task |
What Is an AHD Camera?
AHD means Analog High Definition. It carries analog HD video from the camera to a compatible receiver. In a vehicle installation, its potential benefit is additional image detail, provided the camera output, monitor or DVR input and display path are matched. It does not by itself establish recording, night vision or other model-specific capabilities.
Browse the vehicle cameras by application, then confirm the quoted output configuration rather than choosing from the housing or connector alone.
What Is a CVBS Camera?
CVBS means Composite Video Baseband Signal, a traditional analog video format. A CVBS camera supplies composite video to a compatible receiver. A “CVBS input” on a monitor identifies a composite-video input; it does not establish AHD support. The camera and receiver must also agree on the supported composite-video standard.
CVBS is familiar in legacy viewing equipment and can suit basic reversing or monitoring when the available image meets the task. Broad use does not mean universal compatibility. Backup camera options should still be checked against the installed display, wiring and required view. The definition follows Analog Devices’ analog video overview; a format definition is not a vehicle-specific compatibility approval.
AHD vs CVBS: Main Differences
Image Quality
AHD can carry more source detail than standard-definition CVBS. The useful difference at the driver’s position also depends on the camera, screen, mounting position and lighting. Compare the intended view on the actual display rather than treating the format name as a guarantee.
Compatibility
AHD and CVBS are different signal formats. A receiver must explicitly support the selected camera output. A similar connector does not establish compatibility, and an AHD/CVBS product listing may describe separate variants rather than a switchable unit.
Transmission
Both need a suitable signal path. Cable type, length, connectors, extensions and routing can affect the installed result. Confirm the proposed assembly with the supplier; neither format name establishes a maximum cable distance for a particular vehicle.
Latency
Do not assume that either format guarantees a particular delay. Camera processing, display processing and any recording or conversion equipment influence the complete path. If timing matters to the viewing task, evaluate the actual assembly under its intended operating conditions.
System Cost
Compare the complete project cost rather than camera price alone. AHD may require a receiver upgrade in a CVBS-only installation. Retaining a suitable CVBS system may avoid that work, but model choice, cable changes, installation and maintenance can change the comparison.
Installation and Upgrade
A new project allows camera and receiver selection together. A retrofit starts with the equipment already installed. Before reusing wiring, verify its documented suitability, pinout and power arrangement; physical fit is not proof of electrical compatibility.
Monitor and DVR Compatibility
Check each required input, supported signal mode and the intended display or recording function. A compatible viewing monitor does not establish that a separate DVR accepts the same signal. Review vehicle LCD monitors alongside the camera configuration and confirm recording separately where required.
What AHD and CVBS mean for a purchase
AHD stands for Analog High Definition; Nextchip’s technology overview describes the transmission format. The Analog Devices decoder discussion distinguishes it from CVBS. These references explain the signal types, not the compatibility or performance of a particular vehicle installation.
For an importer or distributor, the practical question is which installed displays a camera configuration can serve. For an installer, it is whether the complete assembly produces a stable, correctly oriented image. An OEM buyer should specify the approved output mode in the bill of materials so a later batch is not substituted with a visually identical but incompatible variant.
Compare the signal path before the camera price
| Purchase decision | AHD configuration | CVBS configuration |
|---|---|---|
| Receiving equipment | Confirm the exact supported AHD mode | Confirm supported composite-video standard |
| Image requirement | Evaluate the complete HD camera and display path | Evaluate whether the available image meets the viewing task |
| Existing display | Do not assume a CVBS-only input accepts AHD | May suit a retained compatible CVBS display |
| Connector | Verify pin assignment as well as physical fit | Apply the same pinout and power checks |
| Recording | Requires a compatible recording input if needed | Also requires separate recording compatibility |
| Purchase approval | Approve camera, receiver and cable together | Approve the same complete assembly |
An HD input specification and the screen’s native resolution are separate entries on a monitor datasheet. Check both: accepting an HD signal does not mean the panel displays every source pixel. Waterproof protection, night vision, viewing angle and supply voltage also remain model-specific; none follows from the AHD or CVBS label.
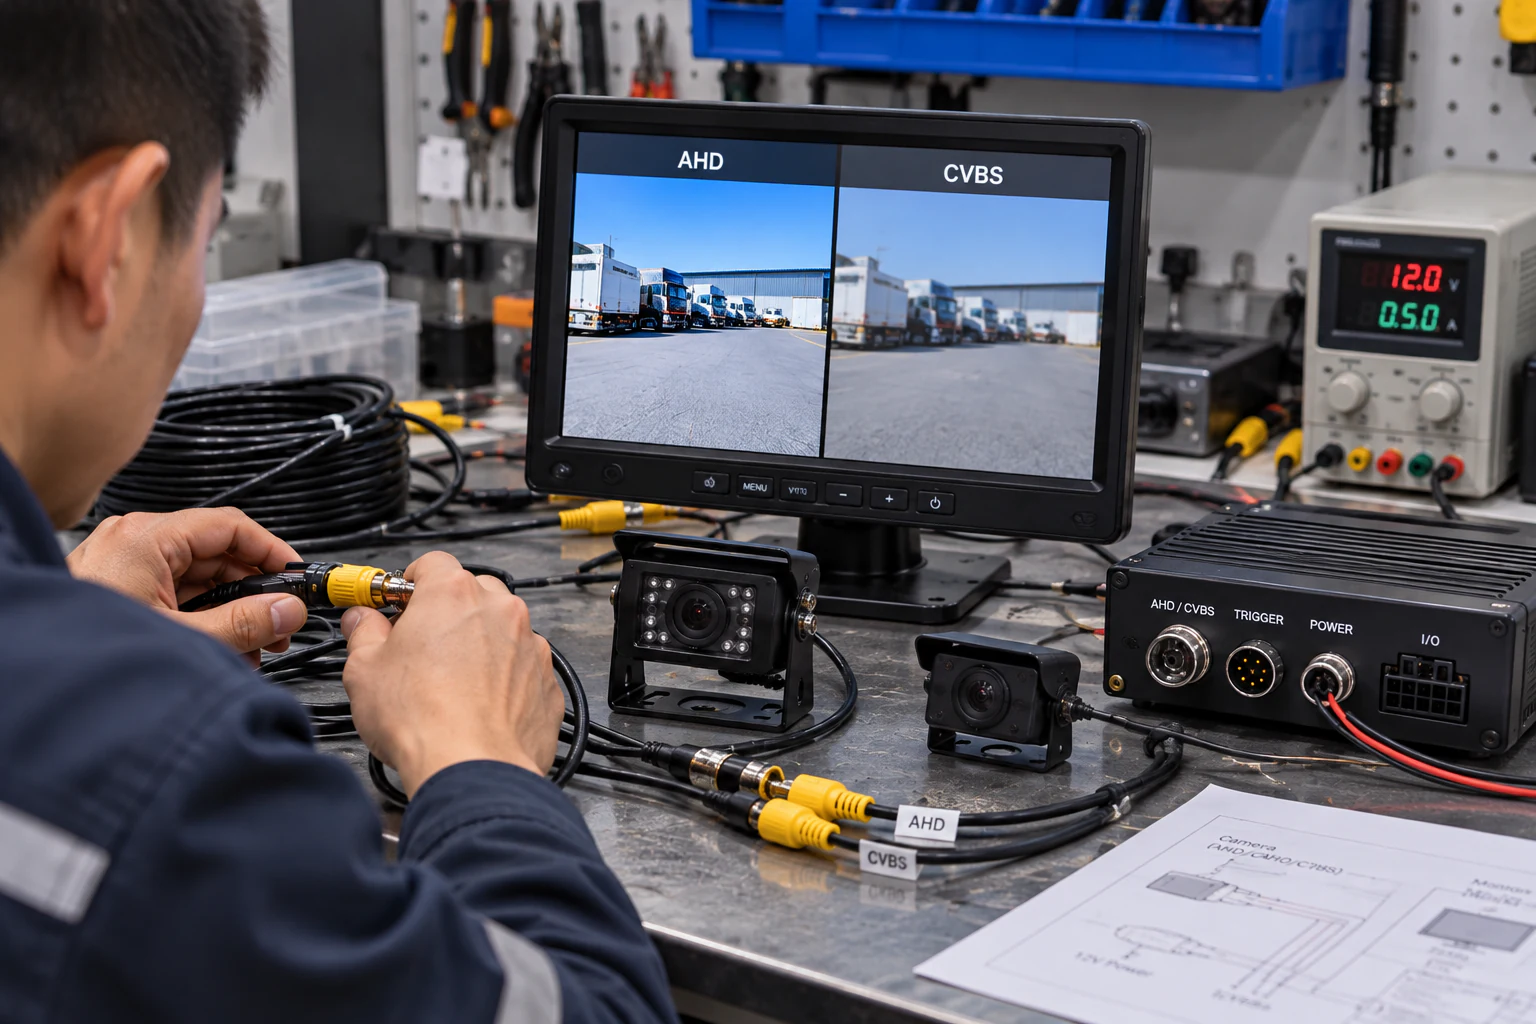
Replacing one camera versus specifying a new system
Keep an existing display
Photograph the monitor label and connectors, obtain its input specification and identify the working camera configuration if available. Ask the supplier to confirm the replacement output mode in writing. If documentation is missing, agree a sample compatibility check before ordering a fleet quantity. A connector adapter should not be treated as a signal converter.
Specify a complete new assembly
Agree the required view first, then choose the camera and receiver together. Compare samples on the intended screen, at the proposed cable length and mounting position. A higher resolution label alone does not show whether the driver can judge the relevant area in glare or low light. Use camera monitor kits to discuss a matched assembly and the vehicle camera category for model selection.
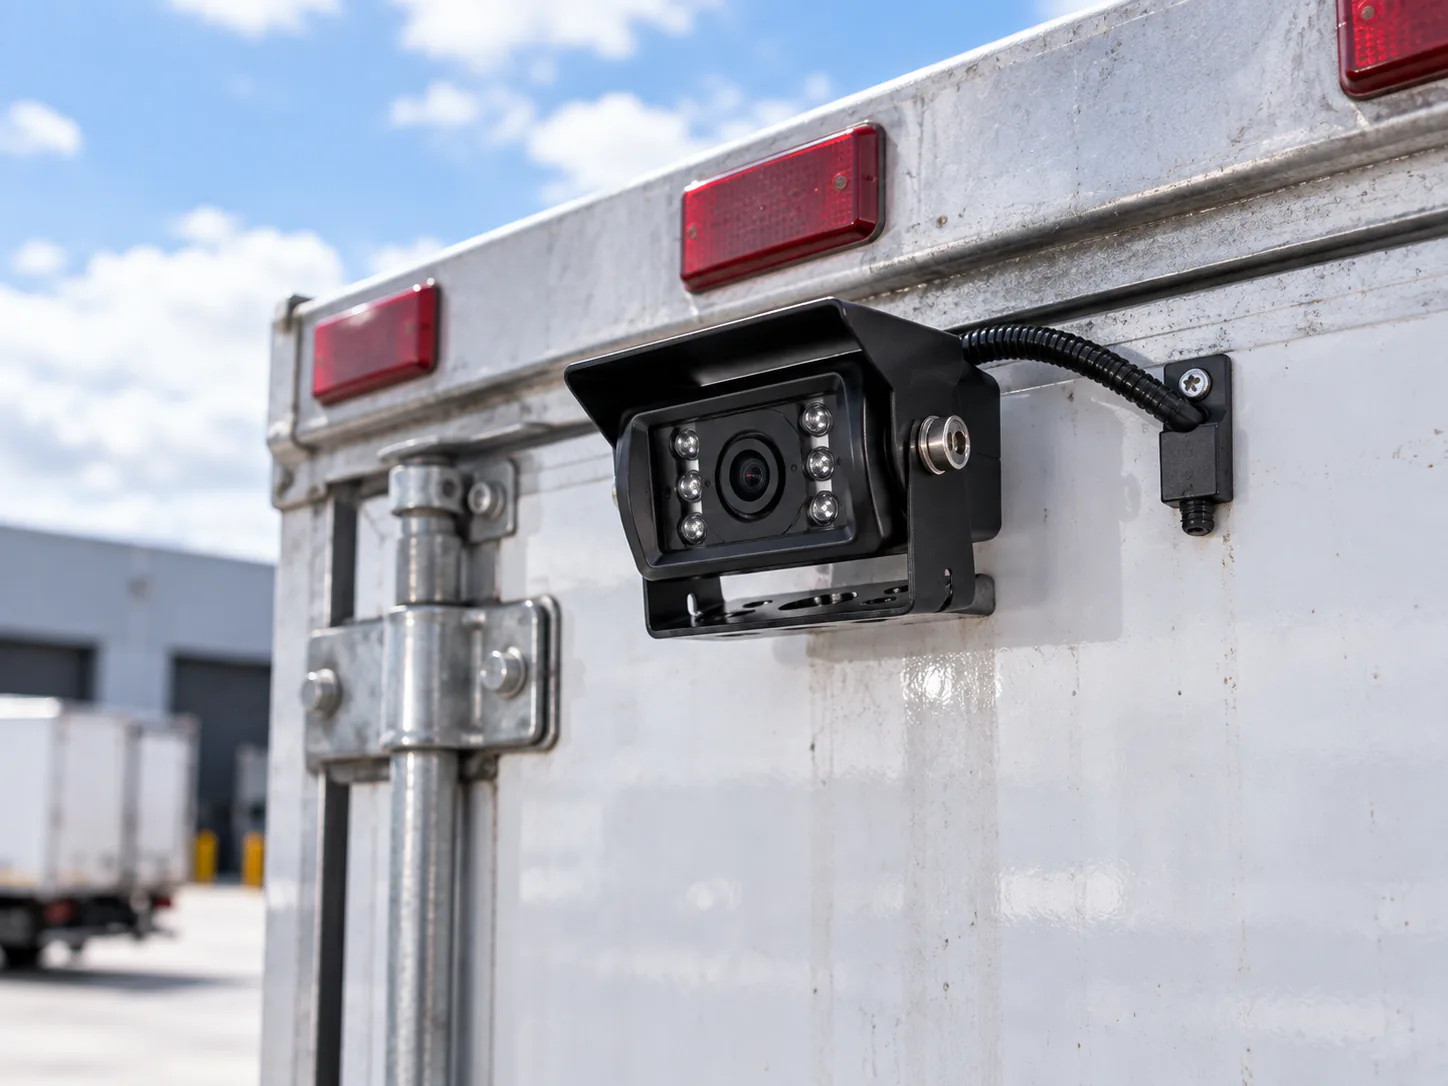

AHD vs CVBS for Commercial Vehicles
For commercial fleet camera projects, choose the view and receiver requirements before standardizing a signal format. Rear, side, blind-spot and interior viewing may involve several cameras, but channel count, switching and recording depend on the selected equipment. A viewing camera alone does not establish automatic blind-spot detection or recording capability.
Trucks and fleet vehicles
A truck camera project may need rear visibility for reversing and side views for areas outside the mirrors. AHD is worth evaluating where extra image detail is needed and the receiver supports it. A compatible CVBS replacement can be practical when an existing display already meets the task. Group fleet vehicles by receiver type before approving replacement stock.
Buses
For bus applications, distinguish rear and side viewing from interior observation. Confirm the required views and display switching, and verify the DVR inputs separately if recording is part of the project. Neither format automatically supplies a multi-camera recording system.
Waste trucks and construction vehicles
Waste truck camera planning should account for rear and side visibility around the vehicle and working area. Construction projects also need attention to mounting, cable routing and the view from the driver position. Environmental protection and durability require model-specific evidence, regardless of signal format.
Forklifts
For forklift camera applications, define the required rear or working-area view and the installation constraints first. AHD and CVBS identify video formats; they do not establish wireless operation, battery endurance or obstacle-detection features. Verify those separately if required.
When Should You Choose AHD?
Consider AHD when the project needs more image detail, the intended monitor or DVR supports the selected mode, and the budget allows any necessary system changes. A new matched assembly or a planned receiver upgrade is a useful opportunity to evaluate it. Approve a representative sample with the actual cable path and viewing position before fleet rollout.
When Should You Choose CVBS?
Consider CVBS when retaining a compatible composite-video monitor, replacing a documented CVBS configuration, or meeting a basic viewing requirement without unnecessary equipment replacement. Confirm that the installed view is adequate; lower replacement complexity is a project-specific benefit rather than a universal property of CVBS.
How to Choose Between AHD and CVBS for a Vehicle Camera Project
- What monitor or DVR is already installed? Record the model, accepted input modes and any separate viewing and recording requirements.
- How much image detail is required? Define the area the driver needs to judge and compare it on the intended screen.
- Is the system for reversing, blind spot monitoring, or recording? Specify the viewing positions and confirm any required switching, detection or recording functions separately.
- Is the project upgrading an existing fleet? Group vehicles by receiver and wiring configuration, then agree replacement variants and labeling.
- What are the budget and installation constraints? Include receivers, cables, adapters, mounting, installation time and ongoing replacement needs.
For OEM, fleet and commercial vehicle projects, signal compatibility should be confirmed before selecting the camera. Discuss the proposed configuration with camera and receiver references, required views and installation constraints.
Compatibility checklist for the quotation
- Camera model, exact output mode and receiving input are recorded.
- Component supply voltage, polarity and connector pinout are documented.
- Cable length, extensions, adapters and routing are included in the sample assembly.
- Image orientation and required display switching are agreed.
- The buyer has defined the area that must be visible from the driver position.
- Replacement parts will retain the approved configuration and labeling.
For mixed fleets, group legacy displays by their supported input. Record the approved replacement against each group so the warehouse does not dispatch a different signal variant under the same housing description.
Investigate a blank or unstable image methodically
Have a qualified installer verify documented power and pinout before connecting equipment. Then check camera output against receiver input, input selection and the extension path. Compare with a known compatible assembly where available. A blank image does not by itself prove that the camera has failed, and repeated unverified adapters can obscure the original mismatch.
Frequently asked questions
What is an AHD vehicle camera?
It is a vehicle camera with an Analog High Definition video output. Its exact output mode, power requirements and connector arrangement must match the receiving equipment and installation.
Can an AHD camera work with a CVBS monitor?
Only if the selected configuration provides a compatible output or a separately verified conversion arrangement. Do not assume that a CVBS-only monitor accepts AHD because the connectors fit.
Does an AHD/CVBS listing mean the camera switches between formats?
Not necessarily. The listing may refer to separately ordered variants or a selectable model. Ask which output the quoted unit supplies and, if switching is supported, how it is set. Do not assume a changeover function from the category label.
Is AHD better than CVBS?
AHD can offer more image detail through a compatible system. CVBS can be more practical when retaining a suitable legacy display. The better choice depends on the viewing task, receiver and complete installation.
What does CVBS mean on a camera?
CVBS means Composite Video Baseband Signal. It identifies a composite-video output, not the camera’s power, connector pinout, environmental protection or recording features.
What is CVBS input?
It is a receiver input for composite video. Confirm the supported composite standard and camera output; a CVBS input alone does not mean the monitor accepts AHD.
Is CVBS suitable for truck backup cameras?
It can be suitable when the truck’s monitor accepts the selected CVBS output and the installed image meets the reversing task. Check the actual view, power, wiring and connectors before approving the replacement.
Which is better for commercial vehicle camera systems?
Choose the format that meets the required views and fits the approved receiver and installation. AHD is worth evaluating for added detail; CVBS remains useful for compatible existing systems. Neither is universally better for every commercial vehicle.
Can AHD and CVBS cameras use the same cable?
Sometimes an existing cable assembly may be suitable, but this must be verified for the selected equipment, cable length, connector pinout and power arrangement. Reusing a cable does not convert one video format into the other.
Prepare a compatibility review
Send camera and monitor references, connector photographs, documented pinout, cable length and quantity. Include whether the project replaces one part or supplies a complete kit. Continue with the camera system versus dash cam comparison or the truck selection guide for broader decisions.

